
How To Make Your Old T-Shirts into Puppy Toys
My dog is a CHEWER. She gets her little paws on anything soft and it’s destroyed in approximately 3 minutes flat. Her record is 27 seconds to destroy a toy. So, when I found my stack of old t-shirts that I hadn’t been able to donate yet, I looked up different ways to use them and came across a few ideas of how to use them to make dog toys!
When I was in middle school I made friendship bracelets like there was no tomorrow (for whom? I had 5 friends). I figured I could use the same techniques if I destroyed my shirts right.
Step 1: Cut the t-shirt into strips
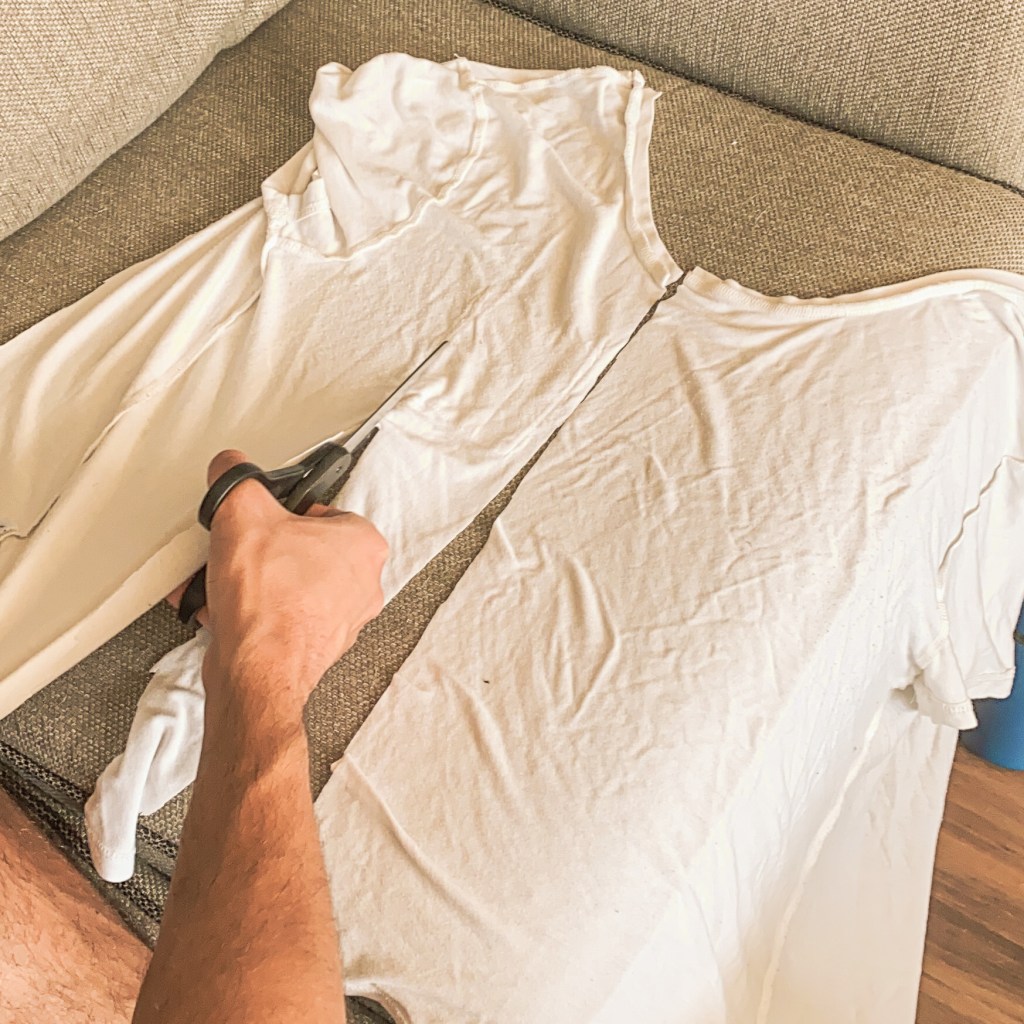
Take an old or stained or too-small t-shirt and lay it flat. Cut it into evenly-sized strips. The wider the strips, the thicker the dog toy will turn out. The thinner the strips, the smaller the dog toy. If you want a multi-colored toy, cut up a
Step 2: Tie a knot using four of the strips of fabric
I’m sure that a more crafty person than I could tell you how to make a beautiful starter knot. I’m not here to do that, though. Whoops. I held two pieces of fabric in each hand and tied a knot… that’s it! You could also start it friendship bracelet style, where you loosely bind them together and finish off the knot when you’re done.
Step 3: Tie a crown knot with the four strips

There are instructions for a crown knot here if you’re super unfamiliar. If you’re not, lie out your four strips of fabric at the 12, 3, 6, and 9 positions if they were on a clock. Take the top piece of fabric, and form a “p” shape as you lie it over the one on the right (use the 12 o’clock strip of fabric to make a “p” with the 3 o’clock strip), then use the one on the right to form a P over the bottom, and use the one on the bottom to form a P over the left. When you go to form a P with the final strip, moving the left (or 9 o’clock) strip over the top, instead of just lying it flat over, thread it through the remaining loop.
Step 4: Trim any loose ends
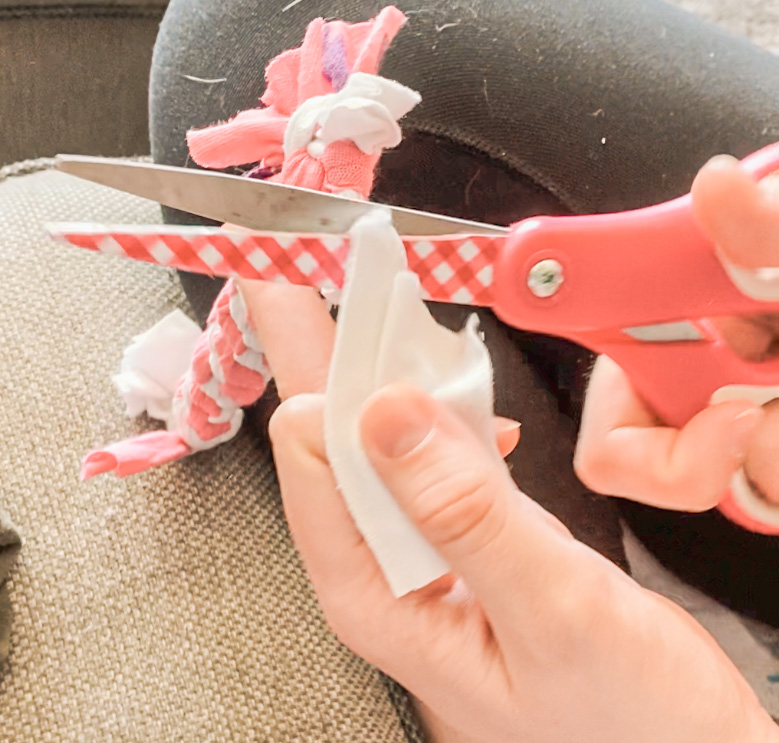
I cut off any metal tags or harmful pieces of material that my puppy would instantly destroy, and tucked in all the remaining ends of the toys so that she wouldn’t be able to unbraid it in seconds.
Step 5: Give it to your dog!
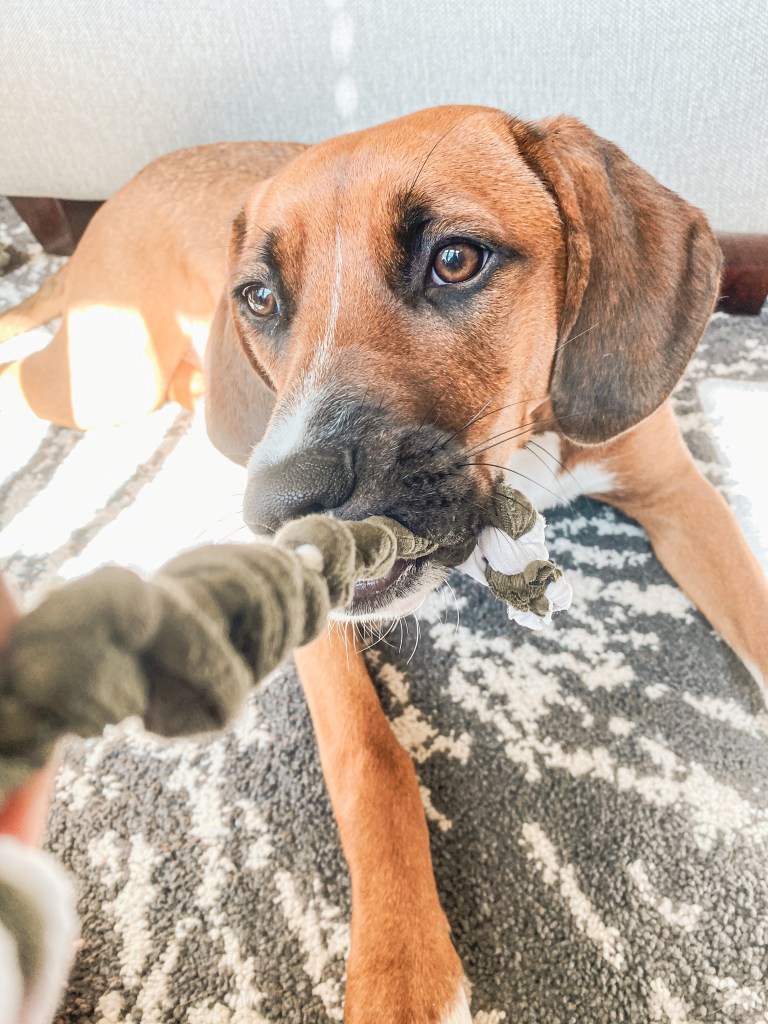
These are also great toys to give to your local dog shelter, since they’re easy to make and inexpensive other than the time it takes. Hope you enjoy!

Keep the Discussion Going!